A shallot is that unique ingredient that is neither onion nor garlic, but looks like and tastes like both. You can try substituting a bit of onion in recipes, but it just doesn’t fit the bill. They can be expensive in stores so that is why we grow them. We plant them in fall and forget about them until summer. Just like garlic, you can save the best for replanting the next fall and by doing so, have an unlimited supply.
Garden Prep:
We plant Shallots just like Garlic using fertile, loose, well-drained soil. The root system of a shallot doesn’t reach very far or deep so they need plenty of food and water. By end of October, we have loosened the soil, removed any weeds that have sprouted and raked in about 2 inches of composted manure.
Planting:
We plant French Shallots. You want to plant your shallots about a month before the soil freezes. We are in zone 6B, so usually I time it as the last couple weekends in October and plant the same time as our garlic. After finding a variety you like, you can hold some cloves back after harvest to replant the next season.
Tip:
Shallots will acclimate to your growing conditions over time. Save the biggest and best shallots from your harvest and replant those next fall. They will continuously grow better and bigger clusters.
You want to push the individual shallots blunt end first, into the soil about an inch deep and six to eight inches apart. This will produce clusters of shallots. If you plant them closer together, you will get single shallots. Once all shallots are covered, we add a loose three inch thick layer of straw to prevent soil heaving that would push the shallots out of the soil over winter and its already in place for weed prevention in the spring.
Growing:
Leave your bed undisturbed thru winter. Typically, we already see about three inches of green before activity stops in January. Since we have fed the garden bed with a thick layer of composted manure when planting, we usually skip feeding in spring. We leave the straw on the bed and do not disturb it until harvest. We just pull a few weeds here and there to keep it clean. We usually keep an eye on the sprouts though, to see if we need to help them thru the mulch.
However, you can carefully remove the straw and add a layer of composted manure, then recover with the straw to help prevent weeds and keep the moisture in the soil consistent if you wish.
Harvesting and Storing:
By early summer, you will see a stem start to emerge from the center of your shallot stalks. This is the scape! The scape will continue to grow straight and has a bulbous pointed seedpod at the end. Cut the scapes so that the growth energy is then directed back into the plant to grow bigger shallots.
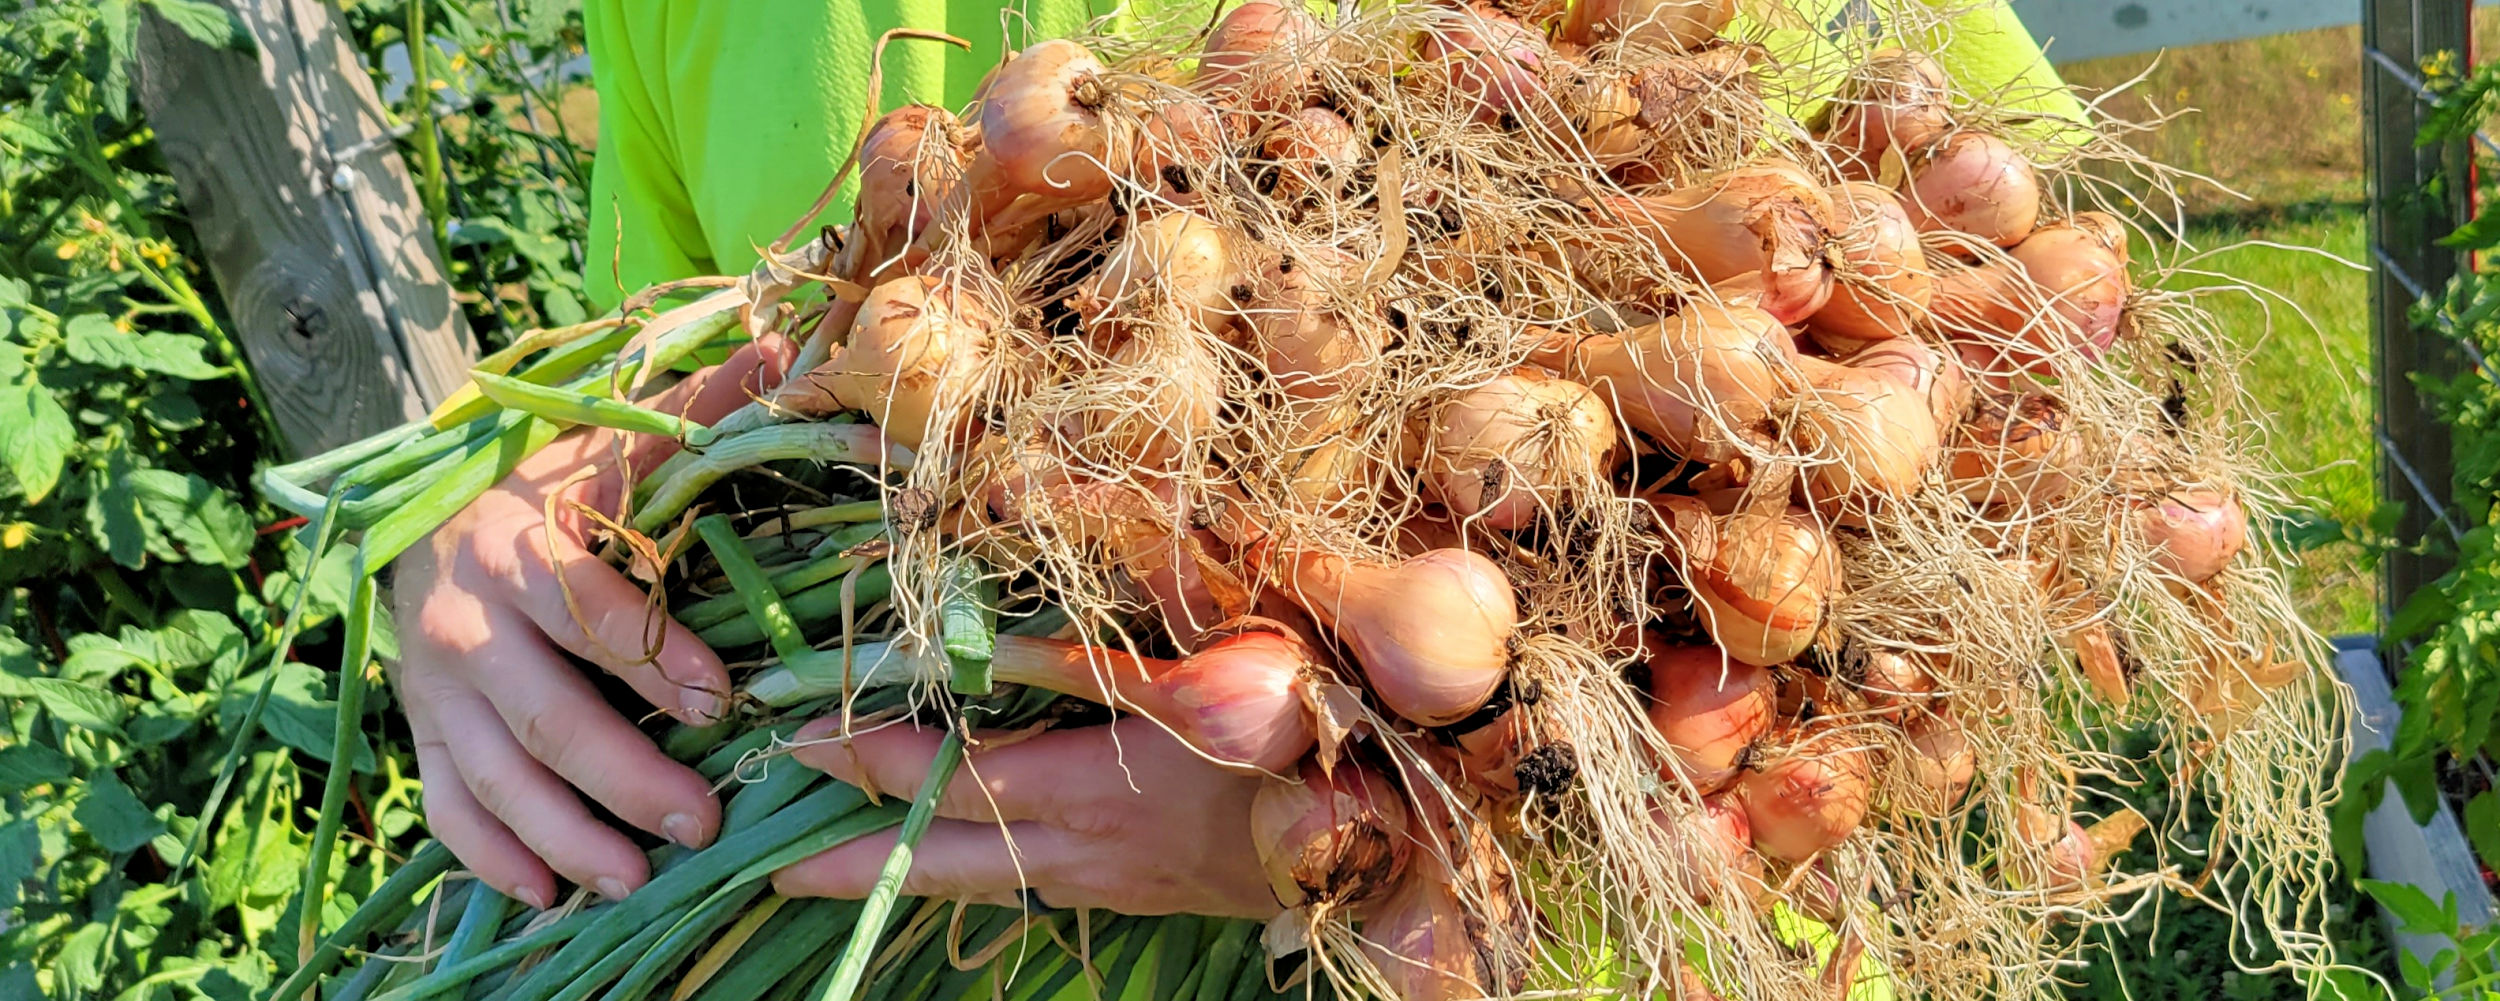
Shallots will tell you when it’s time to harvest. The clusters have a habit of popping themselves out of the soil and the leaves start to turn yellow and lay over. This happens about three weeks after you cut the scapes. You can use a garden fork to loosen the soil or I find that in our raised beds, you can just lift the clusters out of the soil.
It is time to dry or cure the shallots for storage. We do not rinse the dirt off the heads as by the time they pop themselves out of the soil, they are relatively clean. Just give them a good shake to get the loose dirt off.
Dry the heads in full sun for two to three weeks until the skins, leave and roots are thoroughly dry. Trim the roots and cut the stems to about an inch long and store in a cool dry place.
Tip:
If you are like us and have multiple things to do in life and realize that Mother Nature may not cooperate for the full two to three weeks, we modify a bit. We set up the shallots on a cobbled together drying rack under the awning of our stable. It may not get the all-out full sun needed but it does get sun and is covered from the weather and we don’t have to run out in the middle of the night to cover our harvest so it doesn’t get rained on.
I just takes a bit longer to achieve the level of dryness needed.